Saturday, December 11, 2010

Something witty this way comes

Or not. This is complete. After Festivious dyn0 testing and chassis layout will Begin. I'll post longer about this in the next installments.
Posted by Picasa

Sunday, December 5, 2010

Spend a day to Save WHAT???

My new Steel version is on the left, the aluminum OEM on the right.

The rear swing arm  assembly I got on Ebay said that it had the pivot bolts in it. Except 1 (of the 4) was missing. So back to ebay and found 2 bolts listed for an R1150/R1100 rear swing arm. Got em for $20 (inc shipping) and thought all was happy happy. Well nooooooo. The 1100 has a different thread than the 1150 and these turned out to be 1100 bolts. Same in every other way. Go to the Web and find that I can just order the one I need from Max BMW for $28. Except you can't just order one, you need to order two! So with tax and shipping it turns into ~$80. I have a lathe and some steel (the OEM are actually hard anodized aluminum) why not make one? So I did, and spent a day to make a $28 part. Of course the other justification for this is that it would have taken 10 days, at least, to get it from Max, as I'm sure they didn't have it in stock. So I feel a little better, and it's always fun making stuff too. And broaching them for the 12mm Hex Key was included.
Posted by Picasa

Friday, December 3, 2010

Closer


Transmission mounted to the engine with an almost viable adaptor plate. the modified flywheel with clutch mounted all seem to fit. I have to make a few adjustments and I can machine the final piece out of aluminum. I'm also proud of the new engine stand I made. Sometimes it's the simpler things....
Posted by Picasa

Thursday, December 2, 2010

Transmission Adapptor


The plate to adapt the BMW transmission to the Smart Motor milled out of MDF. This is to make sure I have all the hole locations correct and that the width is right so that the input spline of the transmission has enough engagement with the clutch . If this is correct then the finial piece will be milled from aluminum. That is a BMW Clutch mounted to a heavily modified Smart Flywheel. I'll try to post images and a description of the process of mounting the clutch pack when I can find the images I took during the process and when I get a bit more sleep (see previous post).
Posted by Picasa

New Engine Stand


I should be more detailed about what I've been up to but you can just wait till it is all revealed on Wikileaks. Either that or I actually get some sleep and feel more motivated to write about the transmission and drive train that I have figured out how to mount to this motor with the hydraulic clutch etc. coming soon. For now Sleeeep!.
Posted by Picasa

Thursday, November 4, 2010

Machining the burned remains if the clutch assembly out of the smart flywheel.


Mounted in the Lathe
Indicate so that it spins true.

Gone
Machining the burned remains if the clutch assembly out of the smart flywheel.
Posted by Picasa

Sunday, October 17, 2010

File under WTF


I needed to get the clutch and pressure plates out of the flywheel. I plan on mounting a BMW R1150 Clutch pack for a number of reasons. I thought I could get away with drilling out a few riveted pieces and it would come apart. The smart clutch isn't a serviceable item. Mercedes intends for the entire flywheel and clutch assembly to be replaced as one unit and therefore there is no way to disassemble it. I can'tt even figure out how they got it together. There are no bolts or weld marks, and there is no room anywhere that I can see to get tooling in to the assembly. My best guess is that it is in fact pressed together. The only clue to that is that the starter ring gear appears to be presses on to the cast iron flywheel so maybe they have a process for pressing the outer plate (the one that holds the spring diaphragm) over the clutch into the flywheel.

God I love my plasma cutter. It stank up the shop sump tin awful, and I’m still wearing my respirator 30 minutes later, but it made quick and easy work of the assembly without so much as scratching the flywheel. I thought if I cut it apart that it would offer some clue as to how it went together in the first place, but no. Now I have to find a big enough lathe so that I can turn back the outer part of the flywheel and remove what’s left of the outer clutch parts. Then I need to figure out how to mount the BMW clutch pack but I don’t think that’s going to be all the difficult. Now where have I heard that before?
Posted by Picasa

Wednesday, October 13, 2010

Missed it by That Much


This is what’s left of a 1996 BWM R1100GS. It's been sitting around collecting dust since 2000 and recently I had hoped that it would provide the parts I'm missing to mate the 2004 R1150RT trans to the final drive and also supply a clutch I can use as a mock up. But nooooo. I seemed to remember reading about stripped splines on 1100 transmission shafts. I guess this is why BMW changed the input spline of the 1150 transmission to 23.5mm from 22.5mm. Likewise the output shaft is also larger than its predecessor by 1mm so I can't use these parts here. However I still have a plan for them. let's see how much more dust they can collect till they’re needed.
Posted by Picasa

Monday, September 6, 2010

It's Alive!.... Now What?

Tonight a huge milestone. The engine runs! Runs really well! Thanks in no small part to Simon at Specialist Components! Thanks Simon!


Posted by Picasa

We're faster than you are.


I'm the one with the sunglasses

Back from the BUB motorcycle Speed Week at the Bonneville salt flats in Utah. I could write a book with what I've learned. I think my biggest take away aside from all the memories of a truly awesome time and the thrill of being part of a team that set a new speed record (146.5mph) in our class, is that to get a bike on the salt at Bonneville is a truly monumental task. Especially a s special construction streamliner. If I’m going to have this bike on the start line next year (2011) I'm going to need a small, hell no, a large miracle. That’s just to run. To be ready to the point of actually challenging a record is… well I don’t know. This isn’t self doubt. It’s just my current analysis after seeing where I need to be by the end of July next year. But fuck it! Here we go!
Posted by Picasa

Wednesday, August 25, 2010

Donut Create More Work for Yourself

This is the intake manifold with what was the MAP sensor nipple drilled away to accept the fix.
A firewall type vacuum nipple from Summit Racing. (Thank the FSM I had this onhand)
On the bottom of the intake manifold is a very small and even more delicate nipple that is the take off for the MAP sensor. Just trying to remove the small vacuum line from it to get the manifold off the motor is enough to break off this nipple. How do I know this? If you have to ask…. The fix was thankfully simple. A Firewall type vacuum fitting an O ring and an 8MM drill and here you go. Better than new. With the turbo there could be easily 30psi of boost in the manifold so the repair had to be substantial and secure.
Posted by Picasa

Slave to Minutia

Filling the fluids. Crank the motor over at each step and see what leaks. And there are always leaks.
Don't reuse Banjo bolts. This was the cause of the major oil leak I had. The repair manuals on modern machines all stress the warning not to reuse bolts and seals, especially ones that see high stress or many heat cycles etc. Glad that failed here in the shop and not on the course. Next I filled the cooling system. By the oil filter assembly is an oil cooler that is a heat transfer that is cooled by engine coolant. The coolant line that comes from the block was leaking despite new seals. turned out that I had used bolts to secure it that were 15mm too long and they were bottoming out and not allowing enough force to be applied to them to seal properly. Proper length bolts, problem solved. The motor now holds water.
Posted by Picasa

Saturday, August 21, 2010

What Happens When You Give a Monkey an Oscilloscope?


Going throught all the sensors one by one to make sure they are all working and the ECU is seeing the right signal. Looking at the VR sensor for the crank and the hall effect sensor for the cam position.

a vidieo of the signal from the VR crank sensor:

Posted by Picasa

Monday, August 16, 2010

The Moment You Realize the Water is Way Over Your Head!

Finishing up a couple of connections on the wiring harness now that the ecu is plugged in.
Testing continuity. Making sure that all the wires go where they are supposed to and that none are crossed.
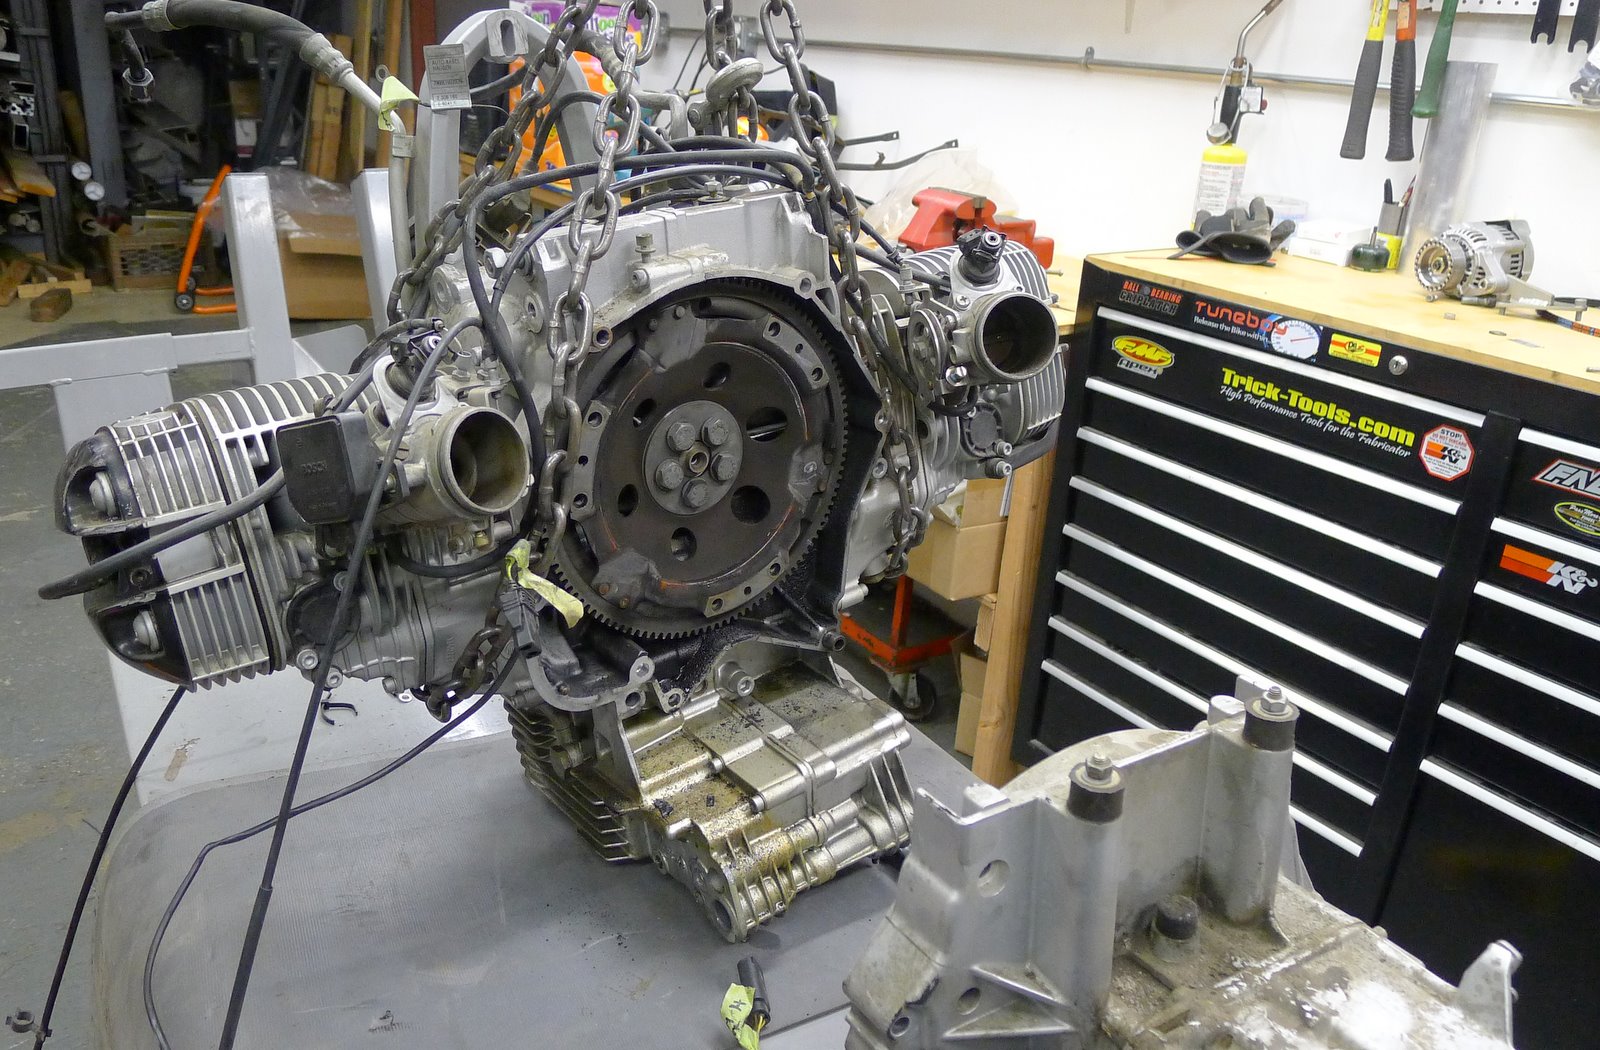
My goal for the night was to get the wiring harness installed all the power and grounds hooked up properly (there are several of each), and get the ECU talking to the laptop so that I can look over the parameters. So far as all that’s concerned, and in the works of the great decider GWB “Mission accomplished”. And just as hollow as those words turned out to be so to was my goal or at least the feeling I know have in my stomach. I got the ECU connected and the software is talking and I was able to download the maps and all the base config settings. After looking over them for a few minutes the only words that come to my mouth are “HOLY SHIT!” It’s late and I’m tired so this is probably simpler than it looks but the number of variables is a bit staggering. I’m at the base of what at first glance appears to be the Mount Everest of learning curves. There are 8 sub menus for the maps for fuel delivery and timing, Fuel pressure control, fuel correction factor, boost control, sensor calibration (pretty straight forward) all the auxiliary functions. Under each of these are maybe 4 or 6 more sub menus such as the MAP target pressures VS Throttle position and target oil pressures VS RPM. As I write this my feeling of having been thrown off the deep end is turning into excitement. This is illuminating just how much I underestimated the complexity of getting a motor like this running and more importantly tuned for power beyond what the manufacturer ever intended the public to see. I know that as I get this project refined I will have a far greater knowledge of diesel tuning than I ever imagined and it’s really exciting. Now that I have the ECU on line it’s time to test all the sensors through the ECU, make sure the reference voltage from the ECU is getting to all the components that need it. From there I'll make sure the ECU is reading the TPS (Throttle position) and then see if we can get fuel pressure to the rail and from there see if the injectors are ready to do their job. I've tuned a number of aftermarket injection systems on various gasoline engines and I can tell you that they didn't really prepare me for just how complex this is. The level of precision that this system has is much greater that that of a gas system. On a gas engine the spark timing is the most precise function followed by fuel metering. It seams that the timing and duration of the fuel injections on a gas engine however isn't even close the the millisecond accuracy required to make a CDI diesel perform at peak efficiency. But I'm only starting to understand this. Fun stuff!
Posted by Picasa