A running account of the building of my Hub Center Steered, Smart CDI Engine,Bio Diesel Powered,
Custom construction Bonneville land speed motorcycle project.
There's a level in cat Physics (you have played Cat Physics haven't you?) called "Go back to go forward", and it gave the most trouble out of the 60 some odd levels I've played so far. How apropos. I had a running motor but I do think this clean shell will actually make things go forward faster. I can also work on tuning the motor on the dyno and getting the drive train working the way I want it without having to stop work on the chassis and other bits. This should be very valuable. Hopefully the next time I get shop time to work on things I can get the motor "mounted" on the frame jig and start laying out the rider position etc. I have been wanting to do this for 2 months now and things just seem to be getting in the way of that time after time.
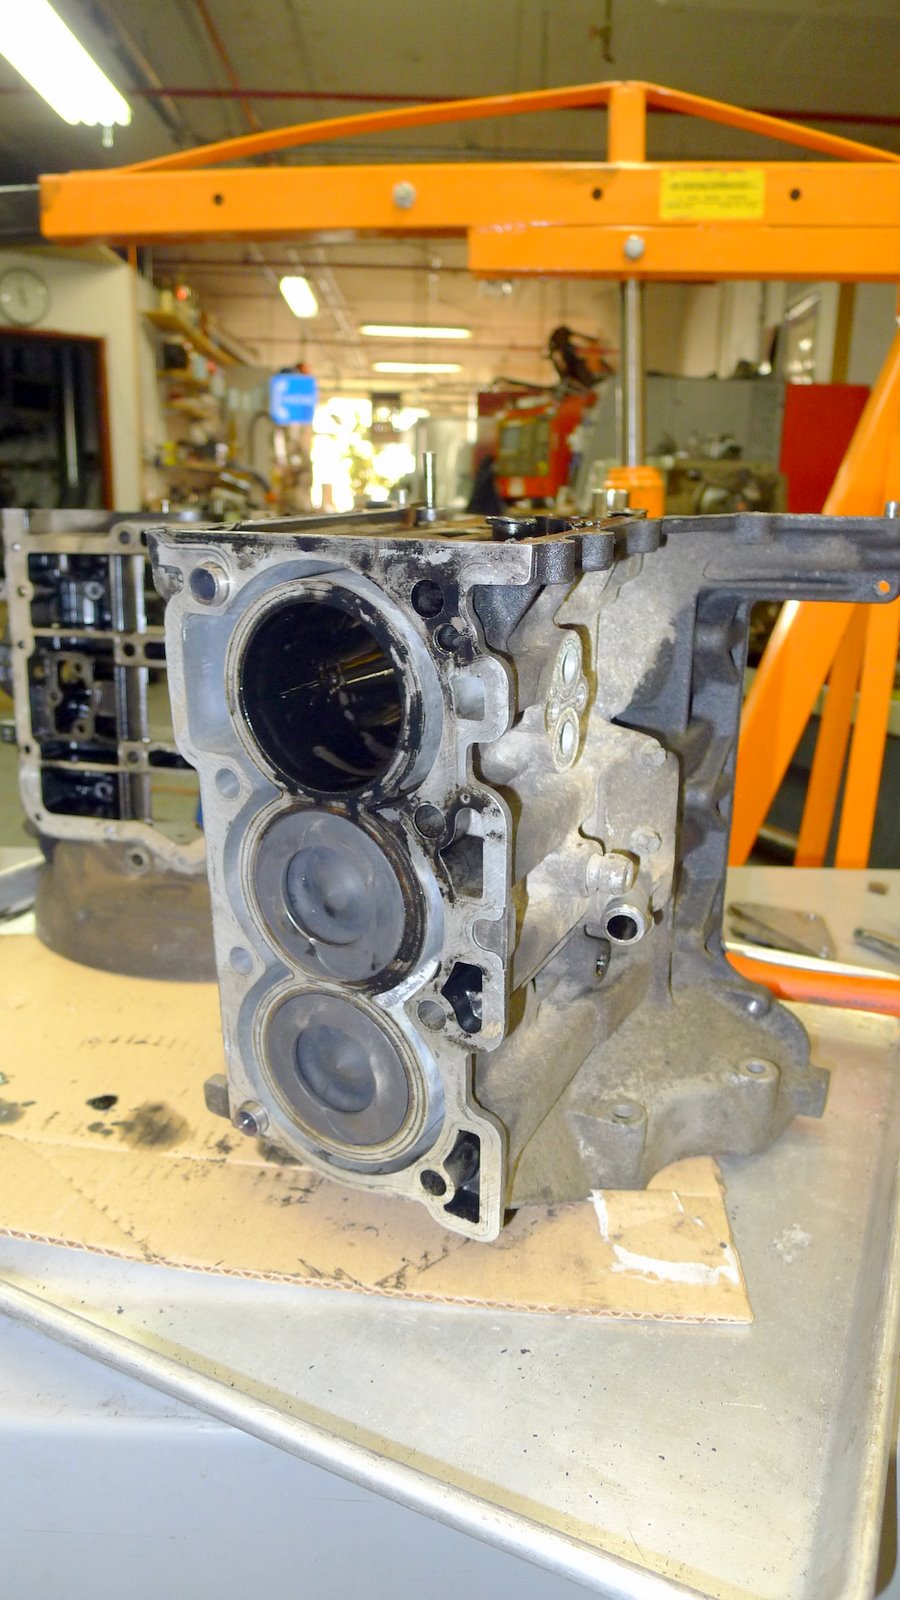
Taking the valves out is the last part of dis assembling the head, which is the last of the major motor pieces, so that it can be cleaned and blasted. This motor was far dirtier than the first one I got and its main purpose is for mock up and to make fabrication of parts as well as measurements easier. When I reassemble it, it wont have the crank or any internals in it to keep it as light as possible. Eventually I will rebuild this into a running motor and it will be the test bed for developing the new turbo and manifold as well as intake and hopefully cam development in the future. Some day I want to build a street bike around one of these motors and this may very well wind up going that route. I was surprised at just how long it took me to completely disassemble this motor. most of the time was spent in the cleaning and the parts washer fluid is now blacker than chocolate syrup. getting all the black goo and crust out was tedious and after 2 days at it I think I have everything clean and all the remnants of the gasket sealer scraped off. lacquer thinner helped in that regard.
The head out of the bead blaster. that is special masking vinyl and it works great at keeping the bead out of the part. that said I still washed the hell out of the head to make sure that any bead that got in came out. There is a raging debate about beading engine parts, and truthfully I hope to have a soda blast cabinet for this kind of wok and eliminate the worry but for now this is what I have and I have been doing it this way for years.
On one side is an aftermarket race piston for a modern Kawasaki ZX6 (600cc inline four), and on the other, you guessed it, is a piston from the Smart CDI Diesel (800cc triple). The smart piston is actually a smaller diameter than the Kawasaki despite being from a motor that displaces 200 more cc’s with one fewer piston. It’s all down to the very short stroke of the Kawasaki (46.5mm) and the longer Diesel (79mm).
I call the oil and pitch black goo oobleck ( I know oobleck was green) because it's just nasty sticky stuff that is everywhere and stains everything. Used diesel oil is truly an order of magnitude dirtier than even the dirtiest oil I ever came across out of a gas engine. Who ever came up with "Clean Diesel" wasn't working inside one of these motors. I'm looking forward to a side by side comparison of used oils after I have been running one of these engines on B99 (or mostly pure BioDiesel).
I had an Itch to make parts so I milled these bearing caps for the front Hub Center assembly tonight. They will hold the tapered roller bearings that will be the steering axis around which the front wheel will pivot. I'll post pictures of the exploded view of the assembly once I make them.
Just roughing out where I cut the hub and the bearing carriers out. I have to find a lathe big enough to spin this wheel so that I can get the bore absolutely true. or at least better than circular interpolation on a VMC. At ludicrous speed these thing really matter.
Yes, It's held down to a piece of MDF (my favorite man made substance) by 3" long sheetroc screws. How else would you do precision work like this?
Moving the engine and drive train to the new more ridge work stand/fixture table. I made it out of steel with a back bone of a 4inch I beam (seen to the left in the right pic). The other wooden bench I had built started to sag under the weight of the motor so no good. I guess I'm not as talented at building benches as I'd thought.
A2 in Moorsville NC (http://www.a2wt.com/). This is NASCAR country and windowless race shops/top secret speed labs are all over this area.
This is the smaller of the 2 wind tunnels here. The larger one had a NASCAR sprint cup team testing and to see what they were doing and the sophistication of the 2200hp wind tunnel was awesome.
We got the chance to try a number of configurations and experiments with shapes and additions to the body work. Even Small suspension changes can have a large effect on drag, down force and a number of other aspects . Changes to the treatment behind the front wheel even had effect on air box pressure even though the opening for the air box was on top and behind the rider. It's amazing just how complicated aerodynamics can get and how it's all related.
The clutch slave cylinder on the BMW Transmission takes 6mm banjo fitting. These subsequently don't mate to any standard automotive/motorcycle hydraulic lines or connectors (which are typically -3AN or double flare here in the states). So where do you find a -3AM to 6mm banjo fitting? You make one.
My new Steel version is on the left, the aluminum OEM on the right.
The rear swing arm assembly I got on Ebay said that it had the pivot bolts in it. Except 1 (of the 4) was missing. So back to ebay and found 2 bolts listed for an R1150/R1100 rear swing arm. Got em for $20 (inc shipping) and thought all was happy happy. Well nooooooo. The 1100 has a different thread than the 1150 and these turned out to be 1100 bolts. Same in every other way. Go to the Web and find that I can just order the one I need from Max BMW for $28. Except you can't just order one, you need to order two! So with tax and shipping it turns into ~$80. I have a lathe and some steel (the OEM are actually hard anodized aluminum) why not make one? So I did, and spent a day to make a $28 part. Of course the other justification for this is that it would have taken 10 days, at least, to get it from Max, as I'm sure they didn't have it in stock. So I feel a little better, and it's always fun making stuff too. And broaching them for the 12mm Hex Key was included.